
In case of recurring meetings in the same room and with the same participants (e.g. City Councils), creating a meeting template will make the preparation of the meeting faster and easier.
This article will explain how to create, fill in, save, duplicate and delete a meeting template.
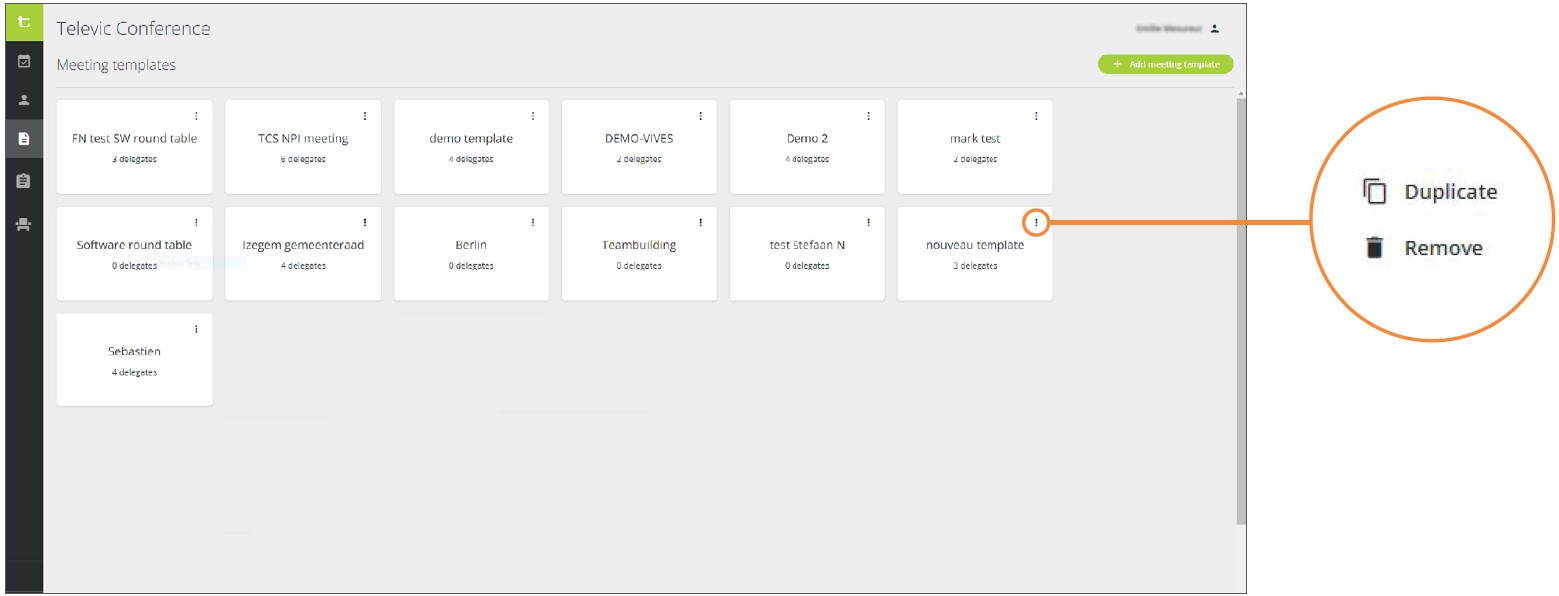
To access the list of templates, click on the Meeting Templates icon ![]() in the vertical menu panel of your dashboard. The following page opens:
in the vertical menu panel of your dashboard. The following page opens:
Create a New Template
1. To add a new template, click on the ![]() button in the top right corner of the Meeting Templates page. The following window pops up:
button in the top right corner of the Meeting Templates page. The following window pops up:
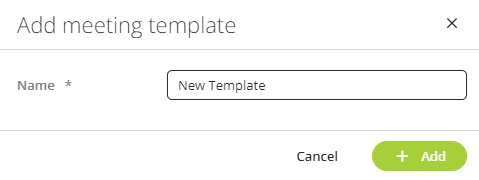
2. Fill in the name of the new template and click on ![]() to confirm. Your new template is added to the list of templates.
to confirm. Your new template is added to the list of templates.
👉 A template’s name has to be unique. You can’t create two templates with the same name.
Enter General Information About the Template
1. In the list of templates, click on the template of your choice. The Meeting Templates page opens (see below). It includes three tabs: General, Participants and Seating.
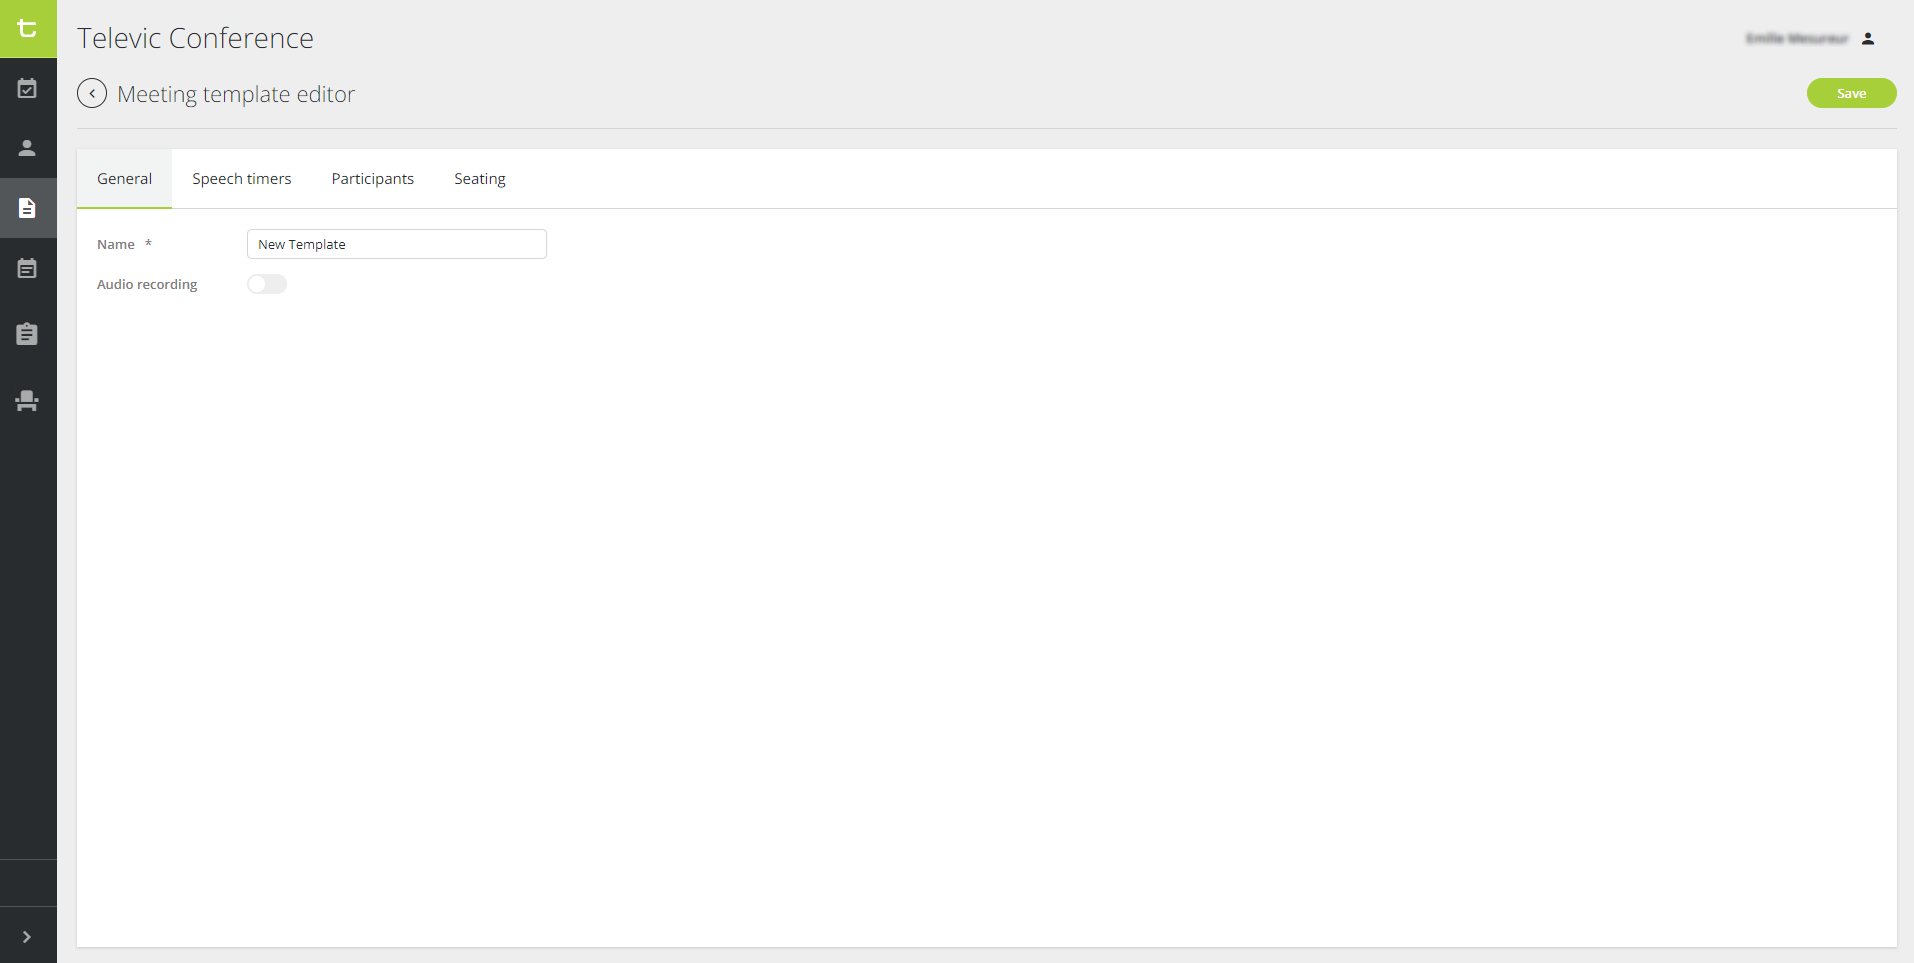
2. In the General tab, edit the name of the template if necessary, and enable or disable the recording option.
Set Speech Timers (Requires CRP 7.6)
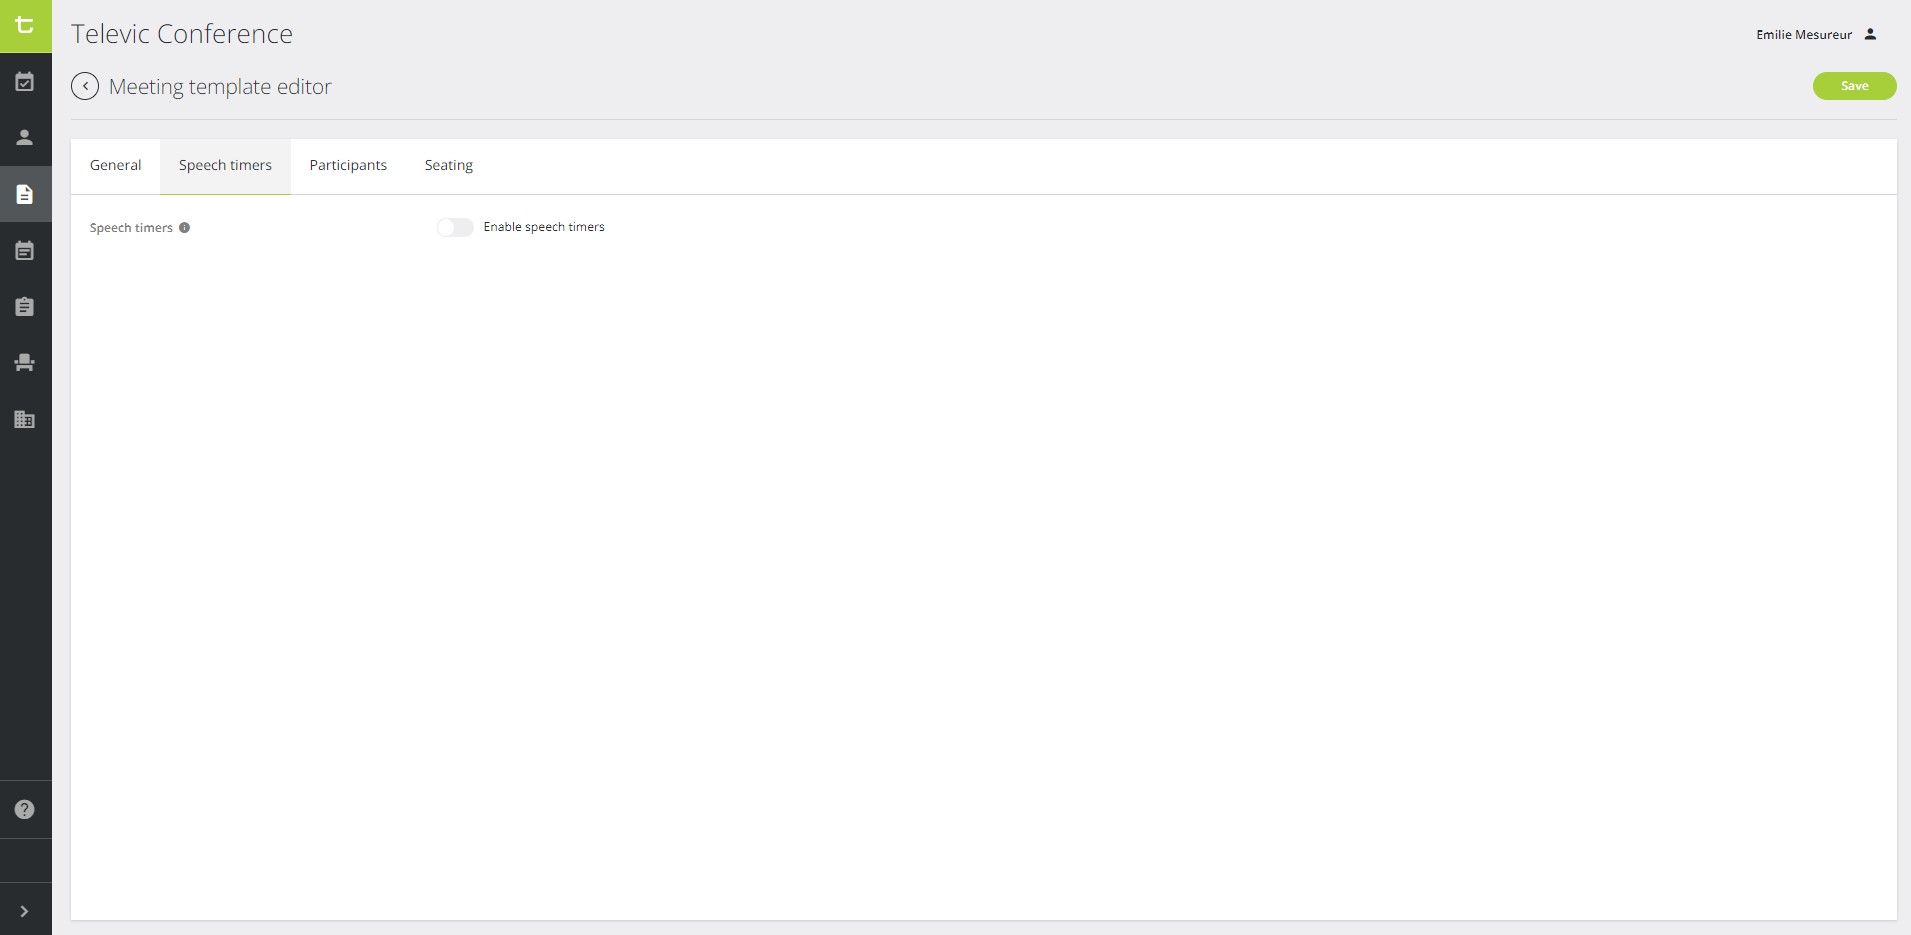
In the Speech Timers tab, you can add speech timers for the participants during the meeting.
1. Slide the cursor to the right to enable speech timers:
2. Define the settings:
- Counting direction: count down or count up,
- Default speaking time,
- Custom timer settings per participant role: you can assign a different default speaking time depending on the roles of the participants. All participants with the same role will have the same default speaking time.
- Reset time: the participants’ speech timers will refresh to the default speaking time every time they enter the speakers list,
- Warning timer: the speakers will get a warning on the screen when their speaking time is almost over,
- Hide speech timers from others: only the current speaker and the participants with meeting control will be able to see the timers.
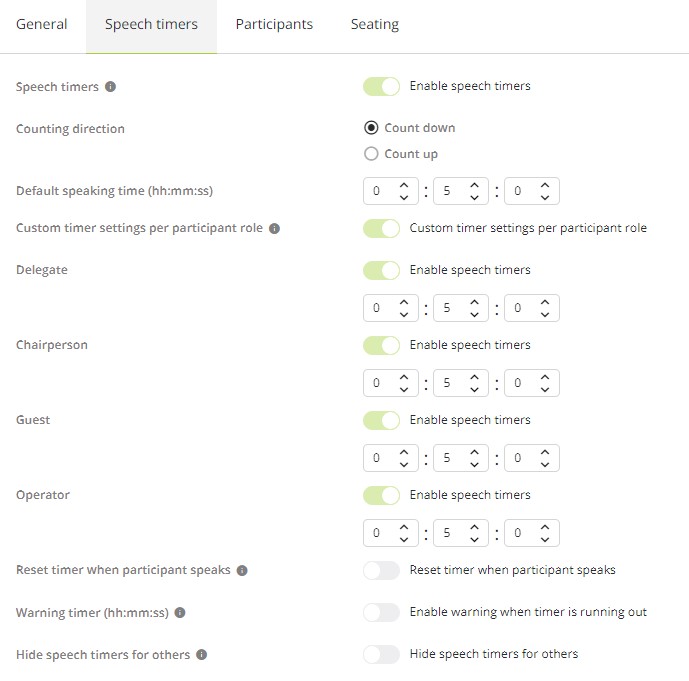
👉 During the meeting, the chairpersons and operators will be able to control the speech timers by pausing, resuming and editing them all or individually.
Select Participants
1. Click on the Participants tab. The following page opens:
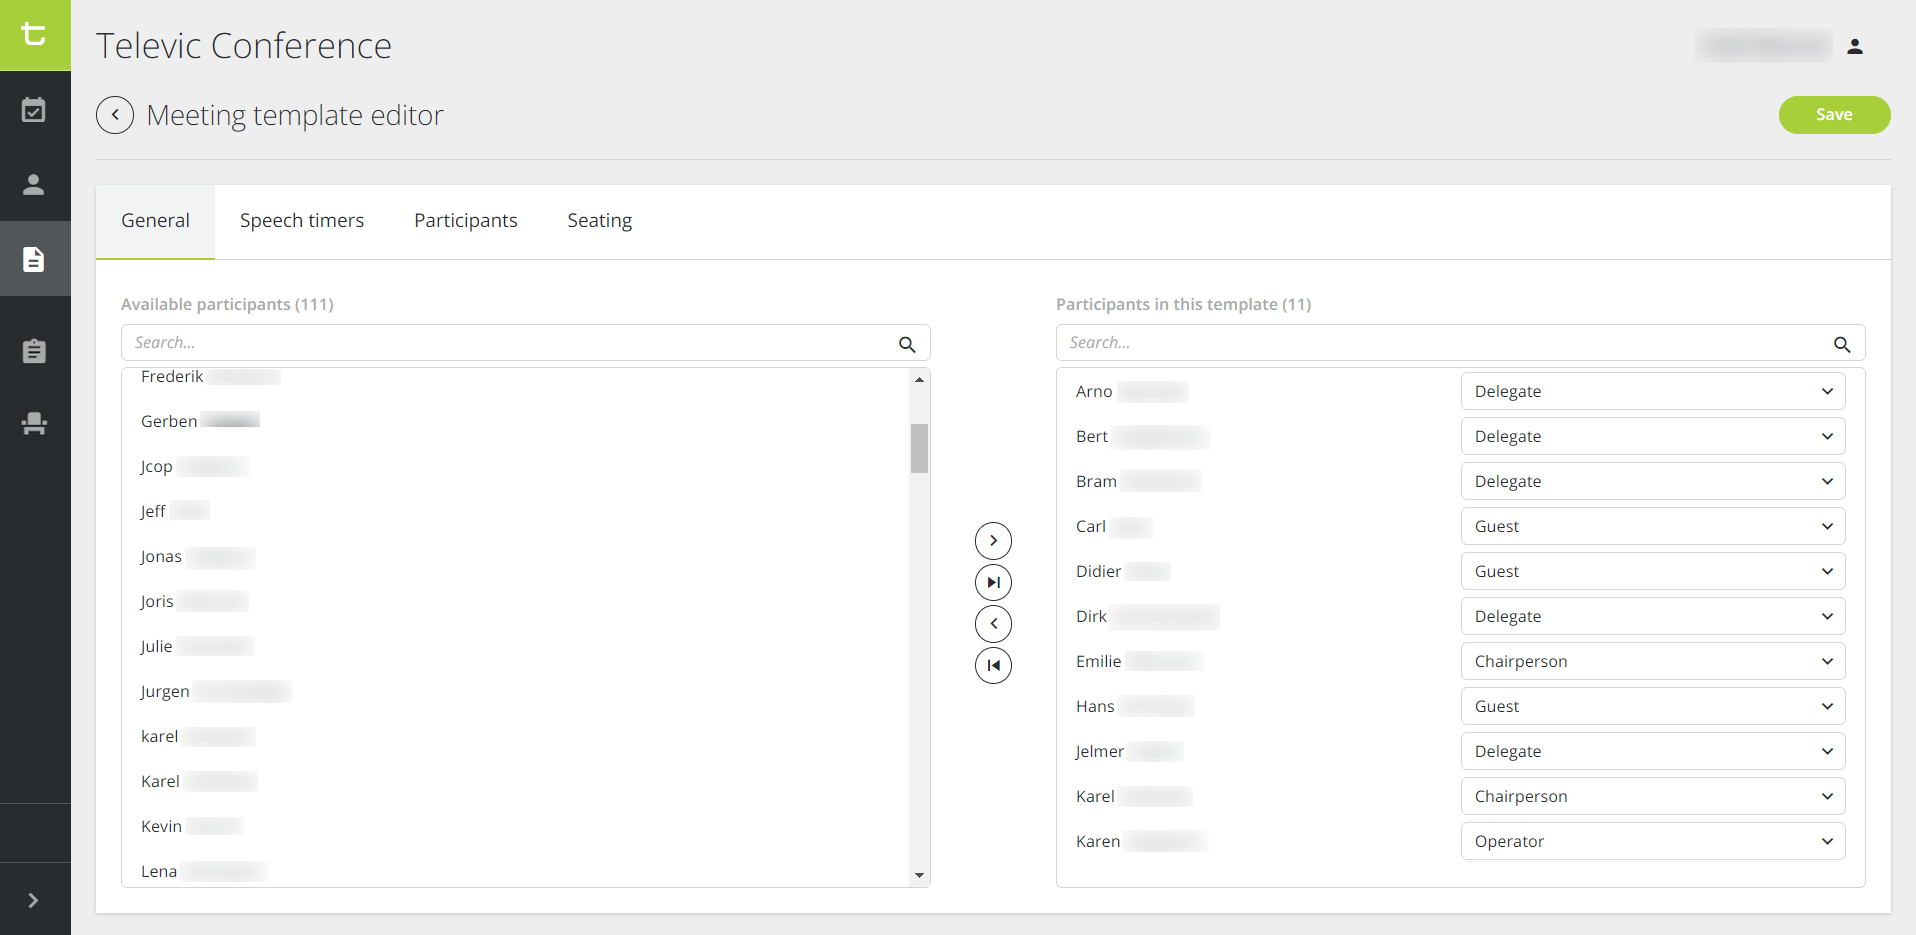
2. Select the participants in the list of available delegates on the left. Click on ![]() to add them one by one in the template’s list on the right. Click on
to add them one by one in the template’s list on the right. Click on ![]() to add them all at the same time.
to add them all at the same time.
3. In the list of selected participants on the right, define a role for each participant: by default, the roles are as follows: delegate, chairperson, guest, operator. But the names can be changed. Click here for more information about participant roles.
Assign Seats
1. Click on the Seating tab. The following page opens:
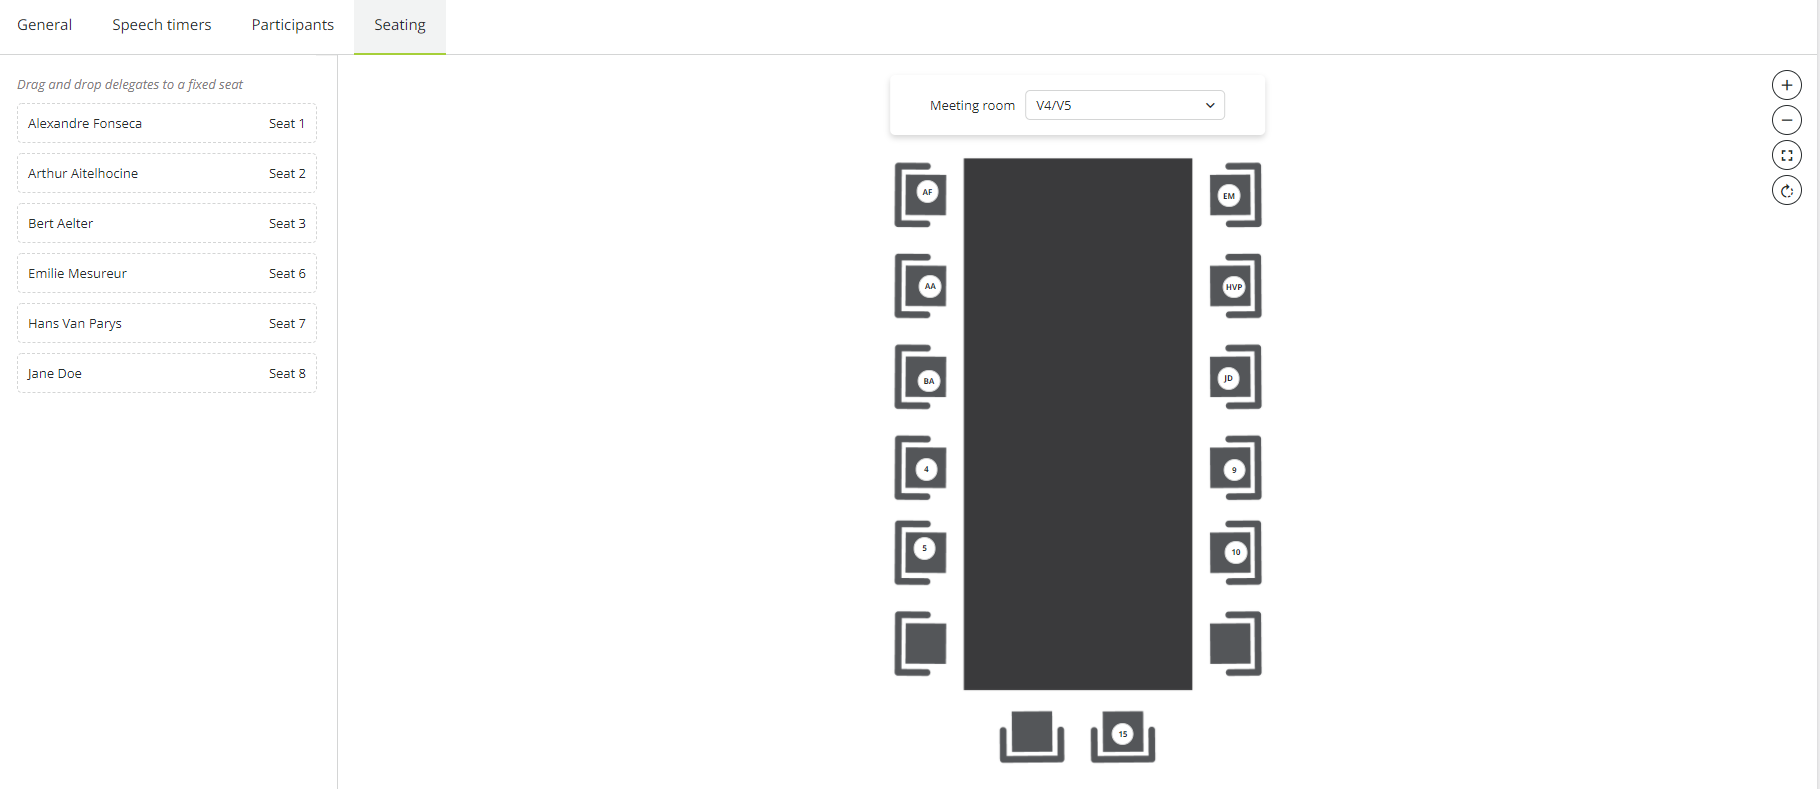
2. Select the room in the Meeting Room’s dropdown list.
3. Assign names to seats:
- Drag and drop the name to the seat number of your choice, or
- Click on the seat number, then on the ··· icon, and select the participant in the dropdown list.
👉 If a delegate is not assigned to a seat, they can still use the seat with a badge or participate remotely via the Confero Platform.
4. Use the tools on the right to adjust the display of the seating layout image:
| Zoom in | |
| Zoom out | |
| Default | |
| Rotate |
👉 In case there are seats missing or the configuration of the room is not correct, contact the administrator who will edit or create a new room layout, and add or remove seats.
👉 If you can see the Room Layout icon ![]() in the vertical menu panel on the left, it means you have the rights to create new room layouts. Refer to the Confero Room Layout quick guide for more information.
in the vertical menu panel on the left, it means you have the rights to create new room layouts. Refer to the Confero Room Layout quick guide for more information.
Save the Template
When all the information about the meeting template have been entered, click on the ![]() button, then click on
button, then click on ![]() to go back to the list of templates.
to go back to the list of templates.
Duplicate a Template
1. In the list of templates, click on the More icon![]() of the template you want to duplicate and select Duplicate. The following window pops up:
of the template you want to duplicate and select Duplicate. The following window pops up:
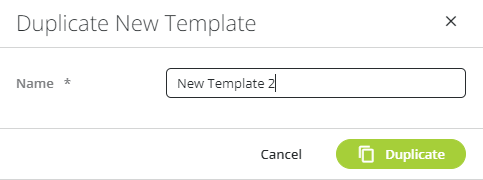
2. Enter the name of the duplicated template and click on the ![]() button to confirm. Your new duplicated template is added to the list of templates.
button to confirm. Your new duplicated template is added to the list of templates.
Remove a Template
1. In the list of templates, click on the More icon![]() of the template you want to delete and select Remove. The following window pops up:
of the template you want to delete and select Remove. The following window pops up:
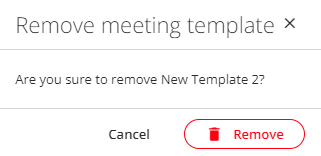
2. Click on ![]() to confirm. The template has been deleted.
to confirm. The template has been deleted.