
In this article, we will guide to configure the camera director after you have configured a room layout.
⚠️ To be able to configure the camera director, you have to be connected to the room.
⚠️ To avoid detection issues, make sure to power on the cameras first and leave them on for a few seconds before powering on the Gateway.
1. In the Room Layout Configuration page, click on the Camera preset config tab. The camera configuration page opens and you get the notification that you need to start a meeting to be able to configure the cameras.
2. Every camera that you want to configure needs to be added to the room layout. In case you want to add cameras afterwards, close the meeting, go back to the Room Layout page, add the additional camera(s) and restart the meeting.
3. The connection status of the room changes to ![]() and the camera preview panel shows a real-time view of Camera 1. The Camera preset config page looks as follows:
and the camera preview panel shows a real-time view of Camera 1. The Camera preset config page looks as follows:
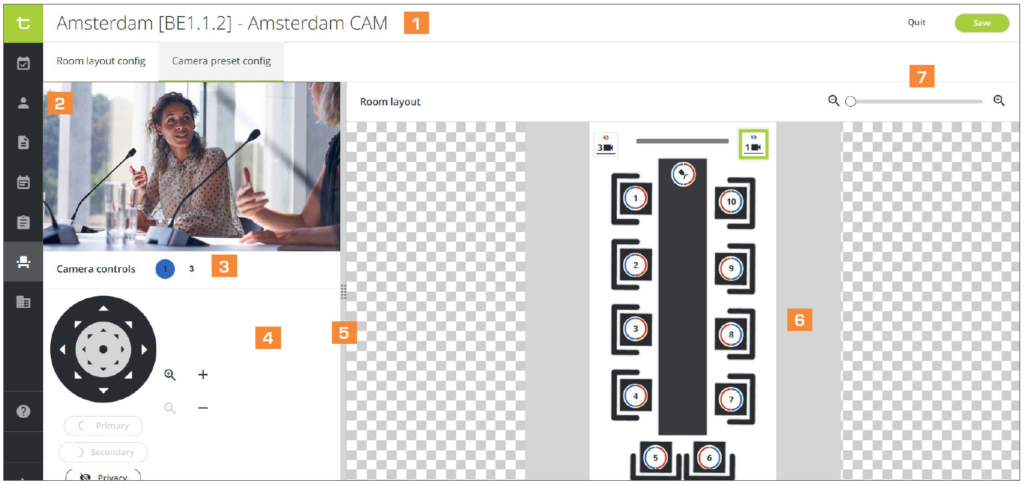
- Connection status of the room
- Camera preview
- Click a camera number to see its presets
- Camera controls
- Expand bar: drag the bar left or right to increase/decrease the size of the camera preview and control panel
- Room layout background image with seats and cameras
- Zoom in/out the background image
Configure a Primary and Secondary Camera for Each Seat
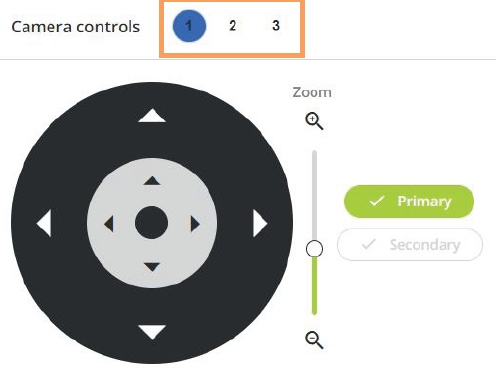
1. Select a seat on the background image. The seat becomes highlighted and the camera controls panel appears.
2. On the background image or in the Camera controls panel, select the camera you want to use for the seat. The camera becomes highlighted. You also get a real-time view in the Camera preview panel.
3. Use the camera controls to point the camera into the direction of the seat, or use the arrow keys of the keyboard (press the arrow keys + SHIFT to move slow, or only the arrows to move fast). Adjust the distance with the zoom slider. The camera preview will adjust.
4. Click on the Primary button to assign the camera as the primary camera for the selected seat. The first half of the seat number circle is colored with the color of the selected camera, meaning the setting has been applied.
It is not possible to configure the camera tracking when you are not connected to the room.
👉 It is highly recommended to set a primary and a secondary camera for each seat in order to avoid movement from one speaker to the other.
5. [Optional] Select the secondary camera you want to use for the seat and follow the same configuration process as for the primary camera, then click on the Secondary button to assign the camera as the secondary camera for the selected seat. The second half of the seat number circle is colored with the color of the selected camera, meaning the setting has been applied.
6. Click on ![]() to save the current camera configuration.
to save the current camera configuration.
View the Presets of a Seat
1. Right-click on the seat for which you want to view the camera presets. The following window pops up:
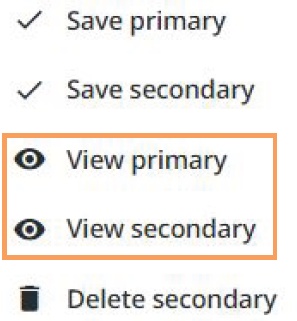
2. Select either View primary or View secondary.
3. The presets of the camera you have selected appear in the Camera controls panel.
Edit the Camera Configuration of a Seat
1. Select a seat a in the room layout image. The seat becomes highlighted.
2. In the Camera controls panel, click on the camera you want to edit:
3. Edit the settings of the camera, then click on either the Primary or the Secondary button to confirm.
4. Click on ![]() to save the current camera configuration.
to save the current camera configuration.
Delete a Secondary Camera Presets
1. Right-click on the seat for which you want to delete the camera presets:
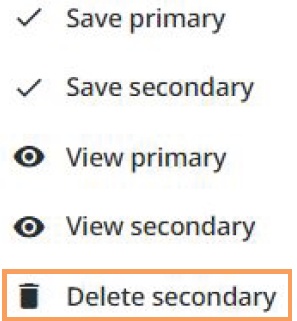
2. Select Delete secondary.
3. Click on ![]() to save the current camera configuration.
to save the current camera configuration.
>> Click here to change a room layout.
In Confero CLOUD, how do I set the Widecam? How do I set the default home position?
Hi Jamus,
To add a wideshot camera, check this article: https://conferocloud.televic.digital/Knowledgebase/2022/04/29/configure-a-room-layout/
Then on the following page, select the model of your camera and follow the instructions to define the settings: https://conferocloud.televic.digital/Knowledgebase/2022/04/29/configure-the-model-of-your-cameras/